
Single Sign-On
This document provides guidance on SSO (Single Sign-On) sign in functionality based on OIDC (OpenID Connect). Through SSO, users can conveniently and securely sign in to the service by leveraging your organization’s existing ID management system.
What is OIDC (OpenID Connect)?
Section titled “What is OIDC (OpenID Connect)?”OIDC (OpenID Connect) is an authentication layer built on top of the OAuth 2.0 protocol that securely verifies user identity and retrieves basic profile information through a standard protocol. With OIDC, organizations can perform centralized user authentication management using IdPs (Identity Providers) such as Okta, Microsoft Entra ID (formerly Azure AD), and Google Workspace.
Through SSO (Single Sign-On), users can access multiple applications without additional passwords once they sign in with their organization’s IdP account.
Supported features
Section titled “Supported features”- SP-initiated SSO (Single Sign-On)
- IdP-initiated SSO (Single Sign-On)
For more information on the listed features, visit the Okta Glossary.
How to Set Up SSO
Section titled “How to Set Up SSO”Organization administrators can set up SSO through the following steps.
Prerequisites
Section titled “Prerequisites”- Xint organization admin role
- An ID provider that complies with the OIDC standard (e.g., Okta, Microsoft Entra ID, Google Workspace)
- Configuration information provided by the ID provider
- OIDC issuer URL provided by the ID provider
- Client ID and Client Secret
Configuration methods by IdP
- Access the Okta Admin Console.
- In the Applications → Browse App Catalog menu, search for and add Xint. Alternatively, you can add it via the Xint Okta Integration link.
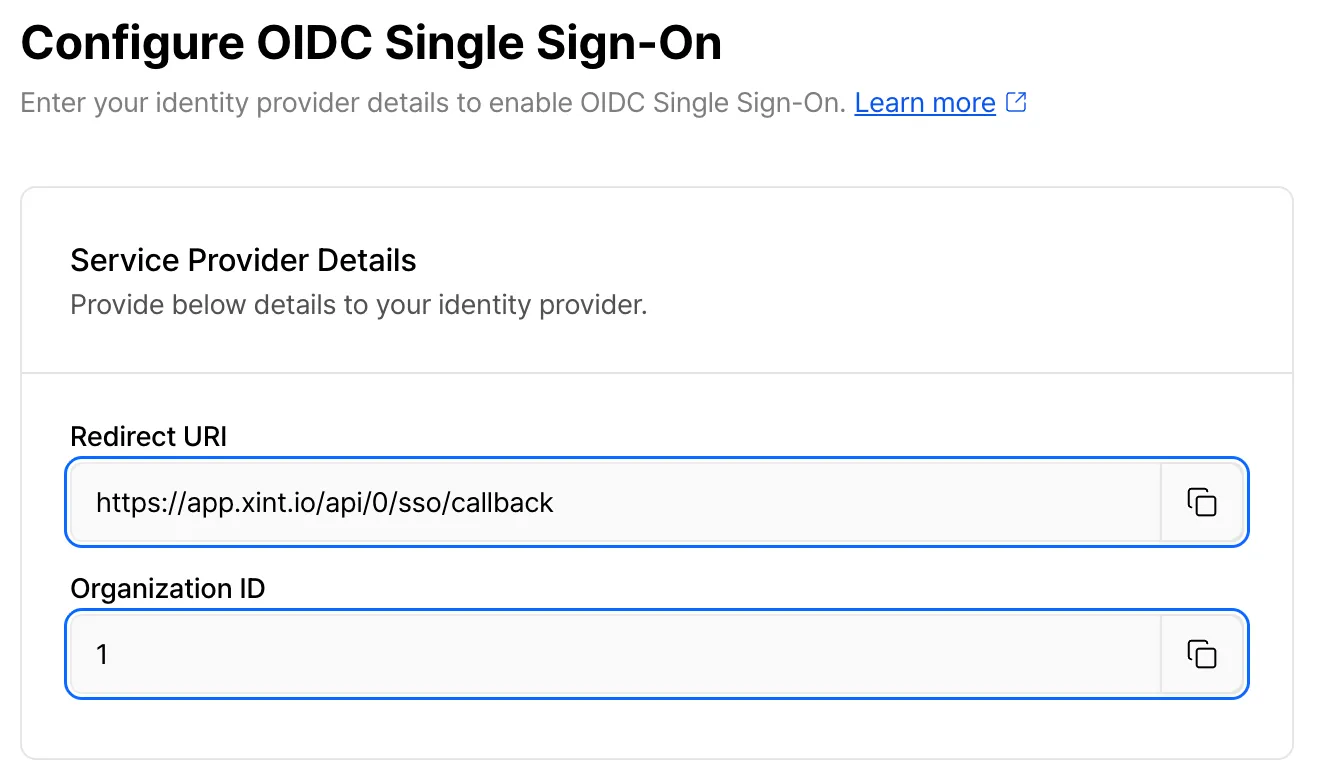
- Enter your Organization ID and complete the application setup. You can find your Organization ID on Xint’s SSO settings page.
- Assign users and groups that can log in to Xint.
- In the Xint App → Sign On tab, you can find the Client ID and Client Secret.
- The OIDC issuer URL can be found by clicking on the profile information in the upper right corner. (looks like
https://acme.okta.com)
- Create an OAuth client in Google Cloud Platform
- Access the Google Cloud Platform Console.
- Select the Google Cloud project for your internal tools. If you don’t have one, create a new one.
- Configure the OAuth consent screen. For the user type, typically select Internal to restrict access to users within your Google Workspace organization.
- Create an OAuth client.
- Application Type: Web Application
- Authorized Redirect URI:
https://app.xint.io/api/0/sso/callback
- Once you create the application, you’ll see your Client ID and Client Secret.
- The OIDC issuer URL is
https://accounts.google.com
- Authorize the OAuth client you just created in the Google Admin Console
- Access the Google Admin Console.
- Go to Security → Access and data control → API controls.
- Click the “MANAGE APP ACCESS” button to go to the App Access Control page.
- Click the “Configure new app” button.
- Enter the Client ID you created above to search for a client and register the app.
Configuration Steps
Section titled “Configuration Steps”-
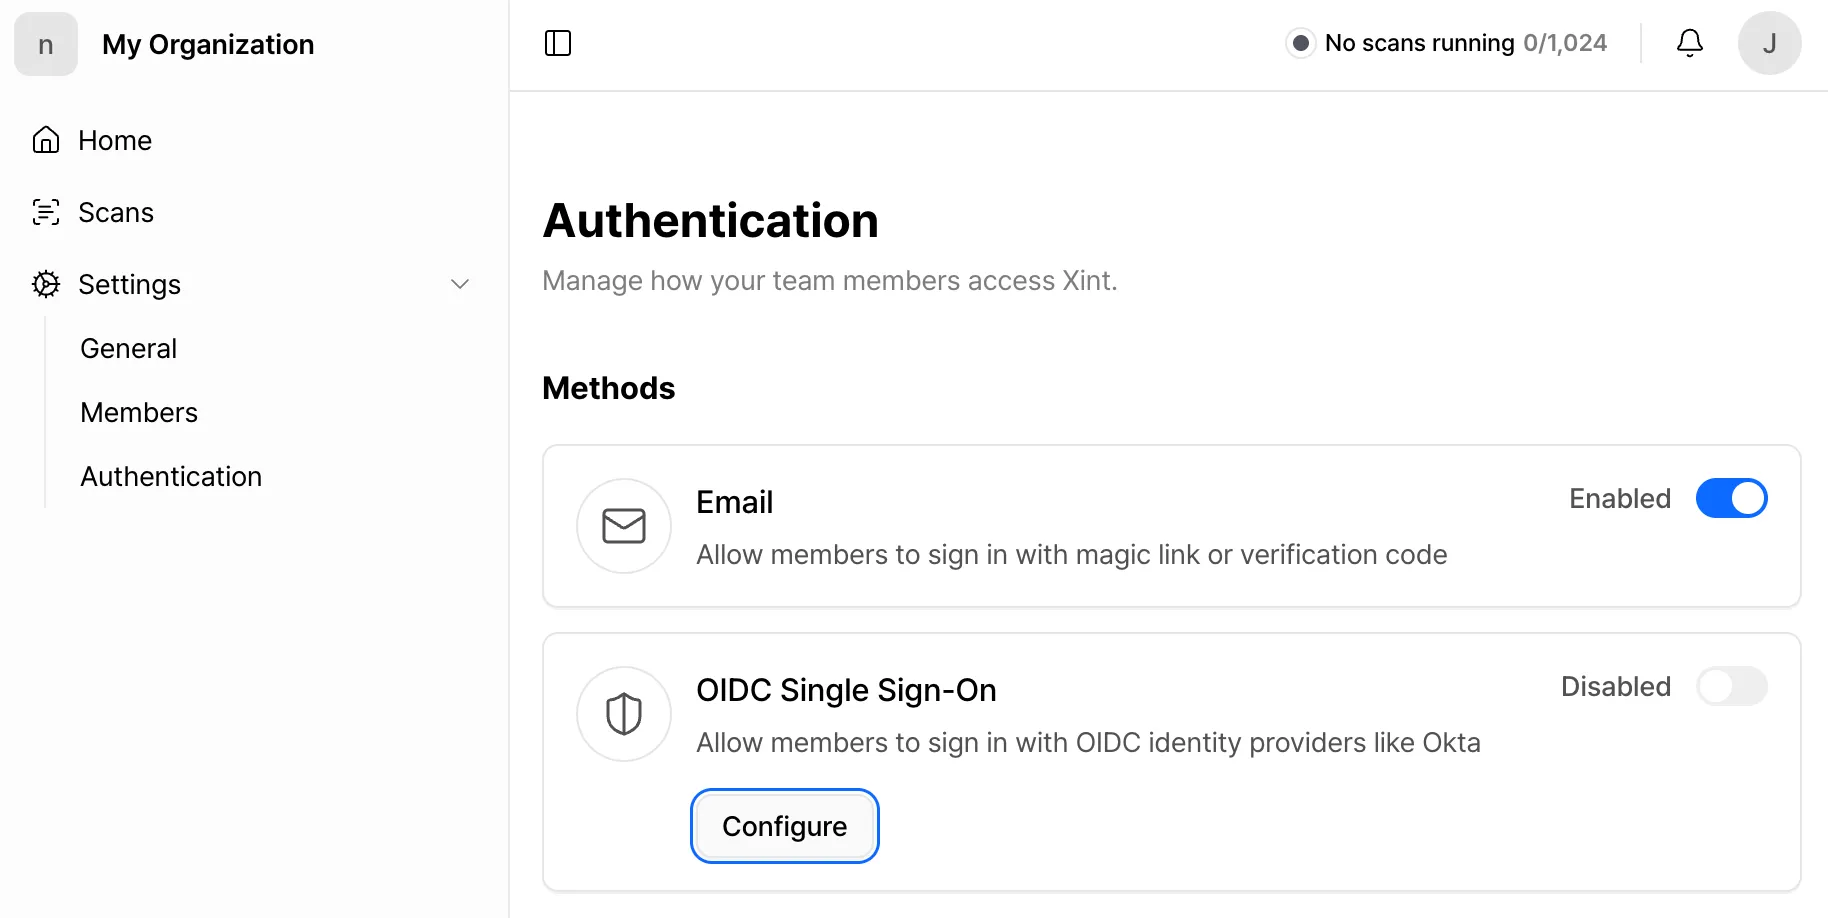
Go to Settings → Authentication menu.
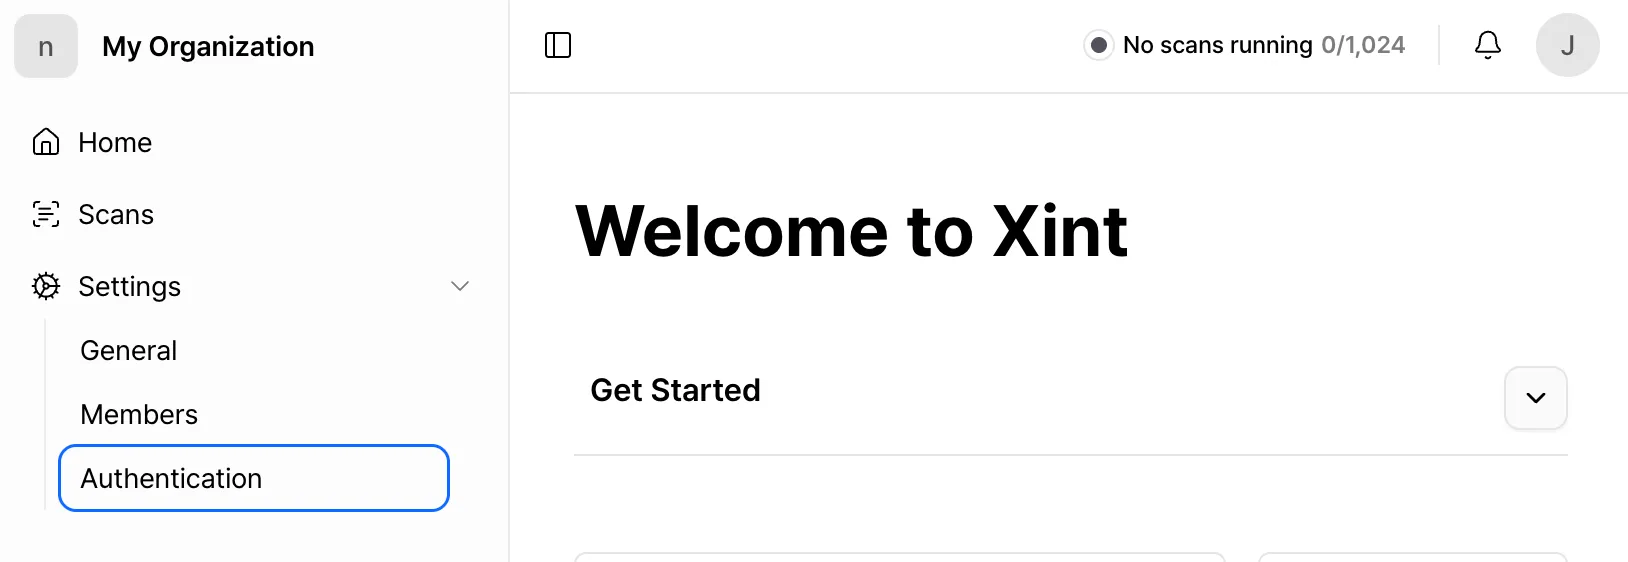
-
Click the Configure button in the OIDC Single Sign-On section.
-
Check the Redirect URI and navigate to your ID provider’s settings page to register it as the sign-in redirect URI. If you use Okta, you will also need to register an Organization ID.
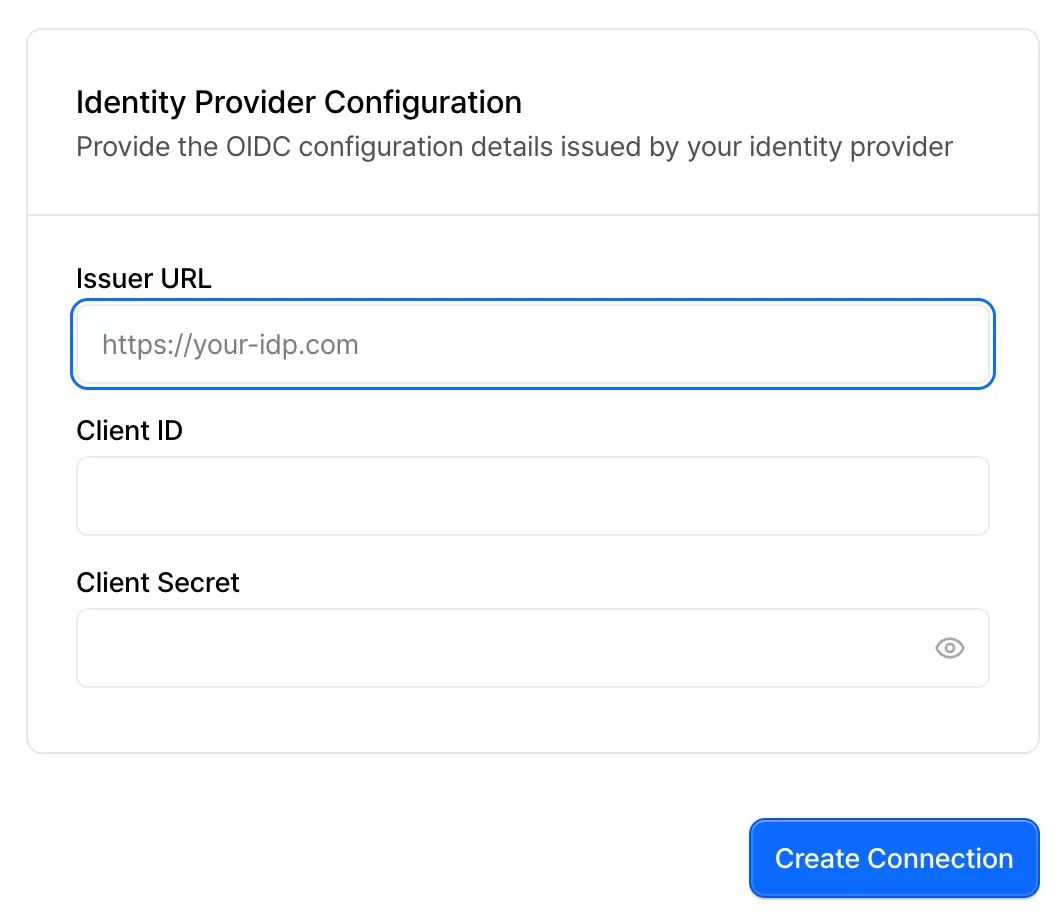
-
Enter the Client ID, Client Secret, and OIDC issuer URL provided by your ID provider, then click the Create Connection button.
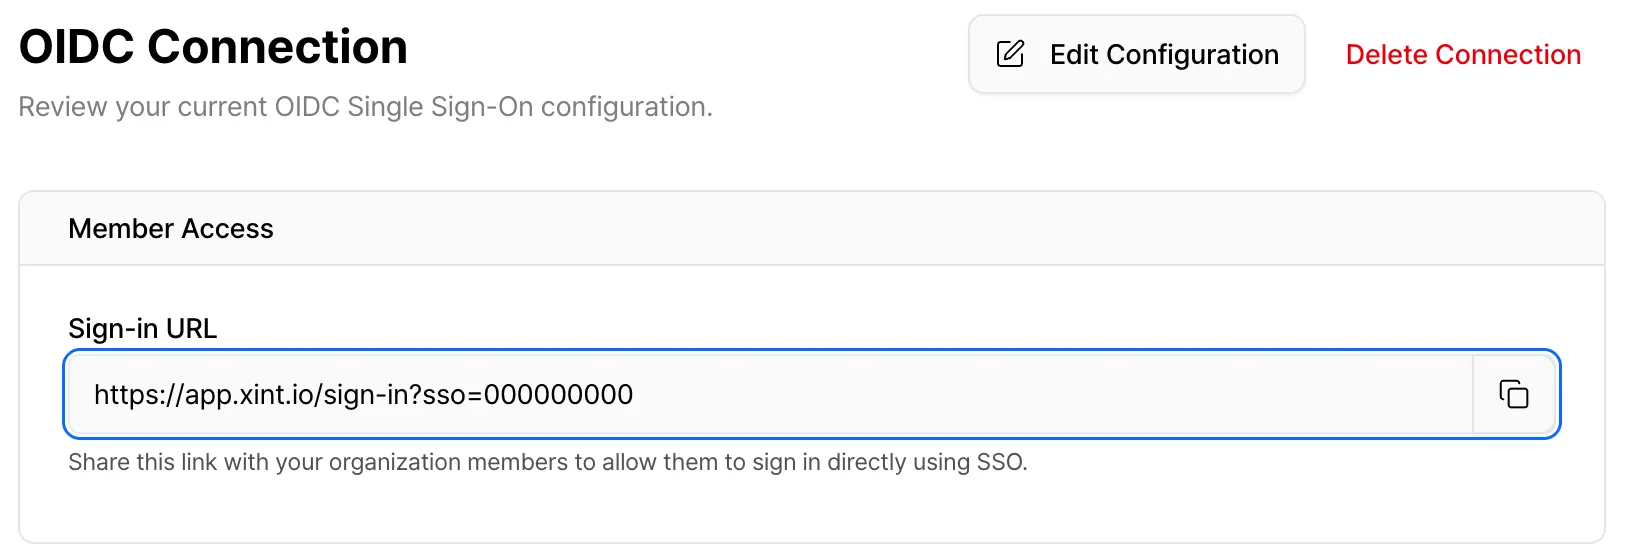
-
After completing the configuration, you can view your Organization Sign-In URL. From now on, use this Organization Sign-In URL to sign in to Xint.
User Invitation and Registration
Section titled “User Invitation and Registration”Xint currently uses an invitation-based registration system. Even with SSO, members still need to be invited by an organization admin to sign in to the organization.
For information about user invitations, see the Inviting and Managing Organization Members documentation.
Signing In Using SSO
Section titled “Signing In Using SSO”Signing In via Organization Login URL (SP-Initiated SSO)
Section titled “Signing In via Organization Login URL (SP-Initiated SSO)”After SSO is set up, users can sign in using the following method.
-
Access the Organization Sign-In URL.
-
Click the “Continue with OIDC SSO” button.
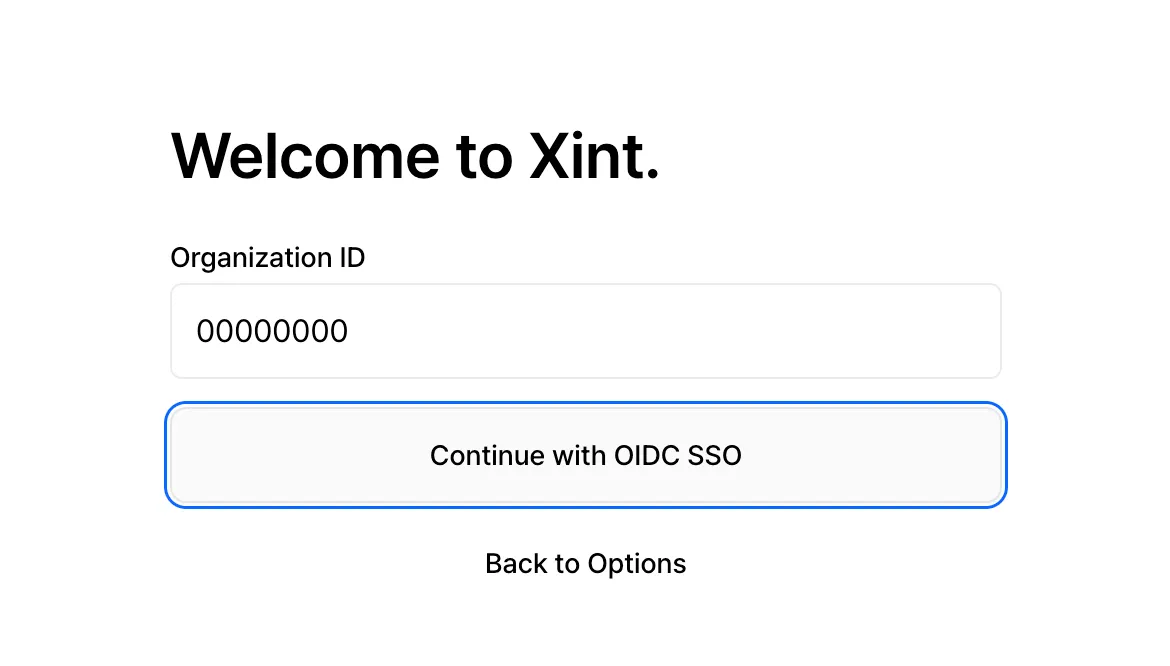
-
You will be automatically redirected to your organization’s IdP sign in page.
-
Sign in with your organization account on the ID provider’s page.
-
Once authentication is complete, you will automatically sign in to the service.
Signing In via IdP (IdP-Initiated SSO)
Section titled “Signing In via IdP (IdP-Initiated SSO)”If your identity provider supports IdP-Initiated SSO, you can initiate the signin process from your identity provider.
-
Start signing in by selecting the Xint app in your identity provider.
-
Click the “Continue with OIDC SSO” button.
-
Once authentication is complete, you will automatically sign in to the service.
Frequently Asked Questions
Section titled “Frequently Asked Questions”Q: SSO sign in is failing. What should I do?
A: First, verify that your account has been created. If you have an account, check that your organization’s IdP settings are correct and that SSO setup has been completed.
Q: I successfully authenticated with the IdP, but I’m not able to sign in.
A: Please verify that you created an account through an invitation link first. Without an account, SSO authentication alone will not allow you to sign in.
Q: Can I use multiple IdPs simultaneously?
A: Currently, only one IdP per organization can be configured.
Q: After setting up SSO, can I still use email sign in?
A: The organization administrator can choose whether to allow the existing email sign in method in the settings.
If the administrator disables email sign in, you can only sign in through SSO.
However, for administrator accounts, you can sign in using any sign-in method regardless of whether it is disabled.